Pipedrive is a powerful sales management tool that helps businesses streamline their sales processes and close deals more efficiently. One of the key features of Pipedrive is the ability to track revenue and add it to your sales pipeline. Here’s a step-by-step guide on how to add revenue in Pipedrive:
- Login to your Pipedrive account and go to the “Deals” tab. This is where you’ll be able to view and manage all of your sales deals.
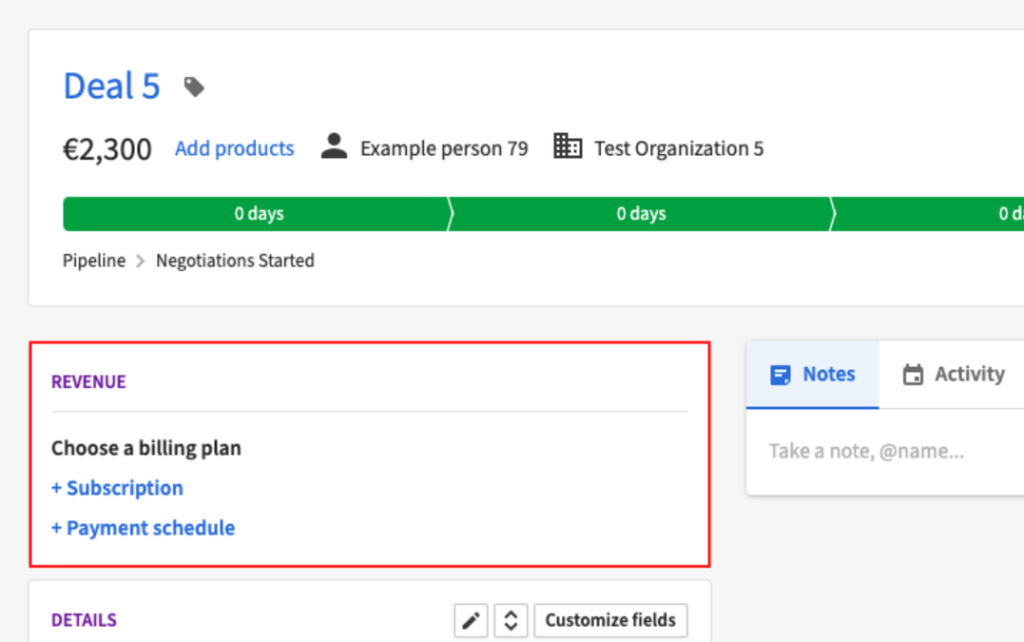
- Locate the deal that you want to add revenue to and click on it to open the deal details page.
- Scroll down to the “Revenue” section and click on the “Add revenue” button.
- In the “Add revenue” pop-up window, enter the amount of revenue that you want to add to the deal. You can also select the currency and choose a date for the revenue.
- Click “Save” to add the revenue to the deal.
- The revenue will now be displayed in the “Revenue” section of the deal details page. You can also view the total revenue for all of your deals by going to the “Revenue” tab in Pipedrive.
- To edit or delete a revenue entry, simply click on the pencil icon or the trash can icon next to the revenue entry.
By adding revenue to your deals in Pipedrive, you’ll be able to track the financial progress of your sales pipeline and make informed decisions about your sales strategy.